Combustion Leak Test Results Explained
Reading the result properly matters just as much as running the test properly. A strong yellow change is easy to understand, but many buyers and mechanics also need to interpret weak colour change, repeat negatives, and messy chambers without jumping to the wrong conclusion.
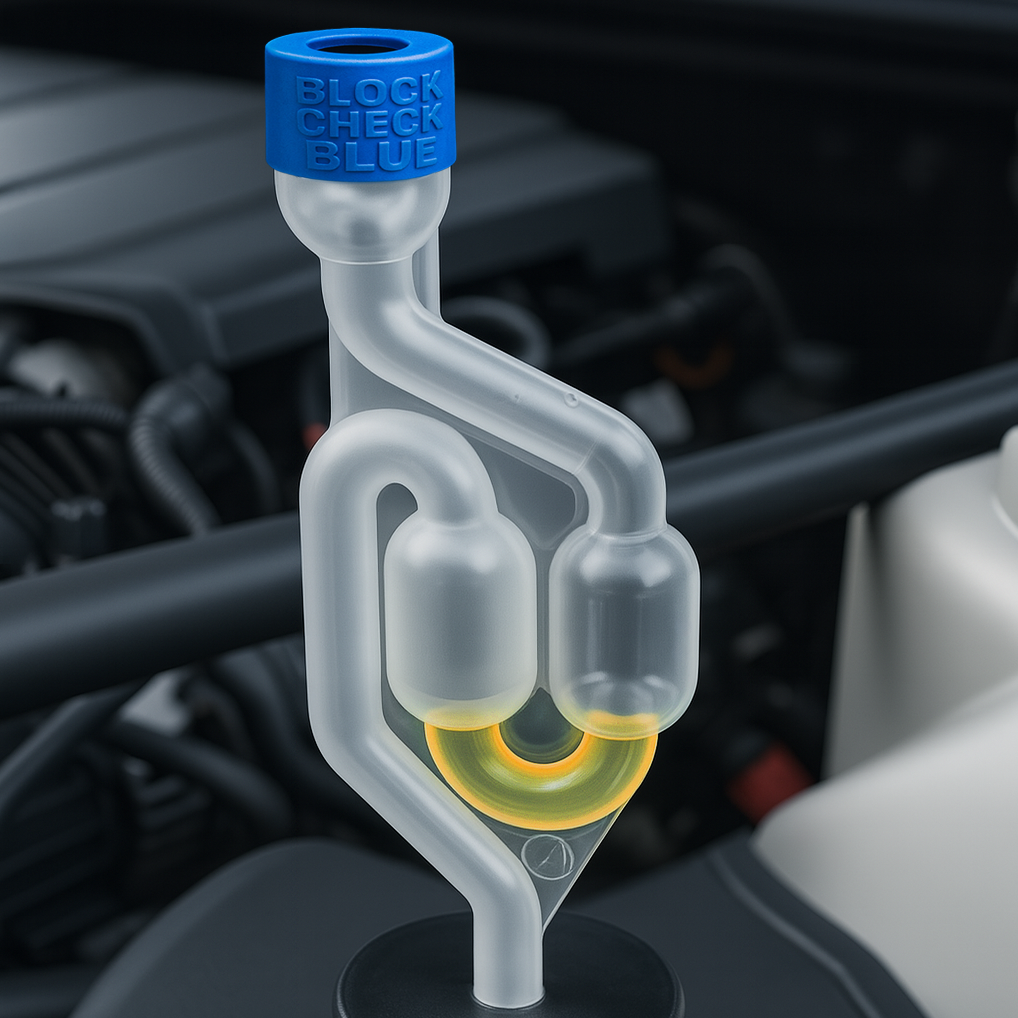
Blue fluid: no combustion leak detected
If the fluid stays blue, the tester did not detect combustion gases in the cooling system during that test. That does not automatically mean every possible gasket issue is impossible, but it does rule out many common combustion-to-coolant leak scenarios.
Green or yellow fluid: positive result
If the fluid moves clearly away from blue toward green or yellow, exhaust gases are present. That is strong evidence that combustion is getting into the cooling system and further investigation into a blown head gasket, cracked head, or related fault is justified.
Fast positive vs slow positive
A fast colour change often points to a stronger leak. A slow change can still matter, especially if the vehicle only shows symptoms under load or once fully hot. That is why it is worth repeating borderline tests with a clean setup and fresh fluid.
Why a result can be misleading
- Coolant splashing into the test chambers
- Poor sealing at the filler neck
- Testing before gases are circulating
- Old or contaminated fluid
- Reading the tester in poor light or with stained chambers
What to do after a negative result
If the fluid stays blue, look at other common causes of overheating and coolant loss such as a thermostat problem, radiator issue, hose leak, cap failure, or water pump fault. A negative block tester result is useful because it narrows the diagnosis quickly.
What to do after a positive result
If the result is clearly positive, avoid treating the car as healthy until the fault is fully understood. A positive combustion leak test is the point where repair planning, compression testing, leak-down testing, or teardown decisions start making sense.
Start with a clean test
Use the step-by-step blown head gasket guide, then test with the LeakLogic kit and refer back to the manuals page if you need a setup check.